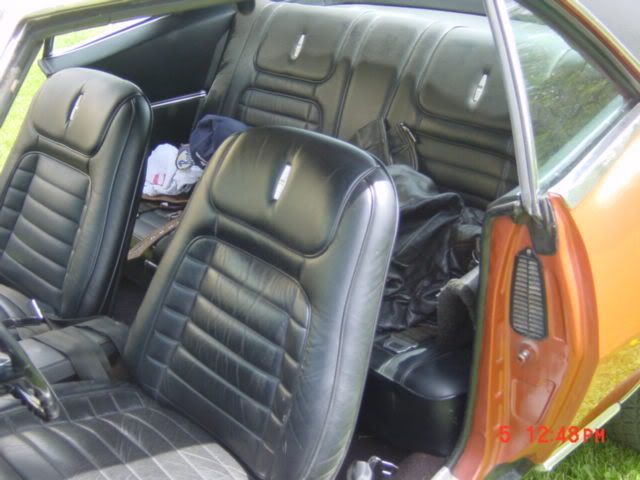
I'm halfway through installing a pair of Al Knoch door panels on my '67 with deluxe interior. I got them from Knoch on EBay and shipping was prompt and the panels were well packed for transit. I was really hesitant to jump in on the panels given all of the bad fitment stories I was reading about the available panel brands. Al Knoch seemed to be a new player on the Camaro scene and his products were well received in the Corvette community and my door panels were REALLY bad so I took the leap.
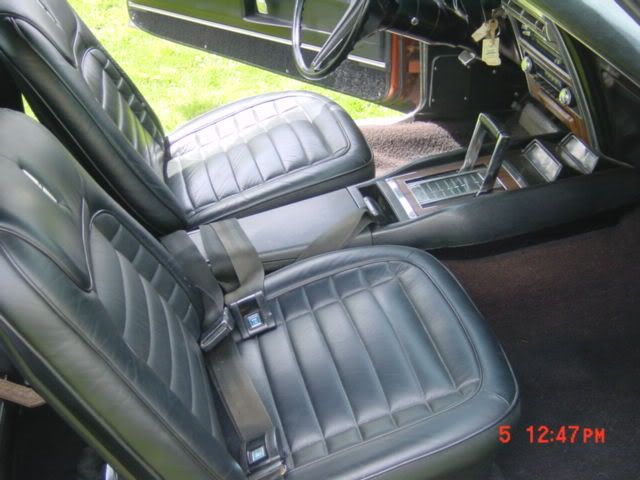
The passenger side is done and the good part is that the panel fits and looks great. They are not too fat at the top edge so they fit well under the trim strip at the top of the door and they are not too fat at the rear edge so the door closes properly.
My father bought the car off the showroom floor in 1967 so I am pretty familiar with the nooks and crannies and know which parts are original. I had given up on any more appearance restoration projects because I have been really disappointed with the quality and lack of faithful reproduction of the trim parts and moldings. All that said, these panels are not "perfect", but only in ways that the hardcores would notice. I am not an uber-perfectionist and am not looking for a concourse ready result. Some specific commentary:
1. They fit! I was relieved.
2. They look great. I was relieved.
3. The backing of the panels are made of hard plastic. No more worry about moisture (but I did but in new water shields)
4. The foam in the panels is a 21st century injected variety, not the kind of open'ish cell foam in the original. If your deluxe panels are as degraded as mine, you know what I mean. This made installing the "camaro" emblem on the door panel a challenge. The firmer foam and the hard backing made it impossible for me to get the emblem studs far enough through the backing to get the retaining clips on. I ended up using an adhesive but I did not get the "pillowed" look of the emblem being pulled into the panel like the original.
5. The channel for the stainless trim that runs horizontally at the door pull is accurately sized and the mounting holes for the trim were accurately placed. I simply removed my old piece, cleaned it, straightened out the prongs and put it on the new panel.
6. There were no mounting holes provided for the "camaro" emblem. I made a template of heavy paper, measured, shot a bourbon and plunged into the beautiful panels with a sharp punch followed with a Dremel drill bit to get through the plastic backing. I didn't look too closely if I made it straight or not.
7. The backing had slots cut for two of the clips to mount the panel to the door. I had to measure and Dremel slots for the other two. Since these were on the backside and buried from view, I did not fortify my confidence with liquor.
8. The holes for the four screws at the bottom of the panel were self located and drilled. I put masking tape across the bottom of the panel, and with the screws in place and marked with a grease pencil I mounted the panel and then pressed against the screw heads to mark the masking tape. Since the backing is hard plastic I couldn't grope through the carpet with a punch to find the screw holes in the door. The Dremel drill took care of the holes but made a little melty mess of a few of the carpet fibers.
9. Not Knoch panel related, but I bought new door handle cups to replace the 44 year old originals. Don't even consider not getting new ones if you throw down the bucks for new panels.