First and foremost I want to thank camaros.net and all the people that contribute to this wonderful site. I have learned SO MUCH from this site, Todd (6187 Camaro), Terry (cheby2), Jeff (fordpowerjoke)... these builds are what gave me the confidence and knowledge to even tackle my project. The photos, tips, and advice are PRICELESS!
With that being said, I am starting this thread with the hopes of giving a little back to the site that has given me so much! I know I can not thank all the ones before me, but maybe someone else just starting out will be able to use some photo or tip to help them get going on their project.
I know this isn't a Camaro build, but there is so much familiarity between the cars, I feel knowledge can be shared easily between the two! This also isn't a Pontiac Purists build.:noway: The beauty of the car hobby is that we all like cars, but it is our different tastes, styles and opinions that make it interesting and fun!
First off: title/name explanation:
I am a 36 year old IT Manager (Computer guy)... hence the "Geek" title... I have always loved cars and dream of building one that I can enjoy with the family and then passing it on to my kids some day.
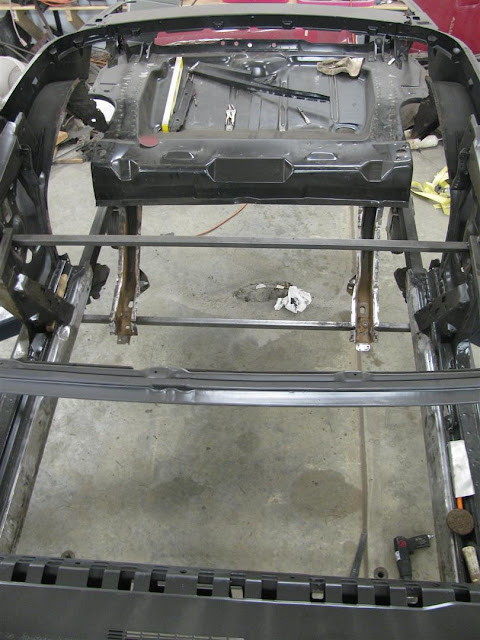
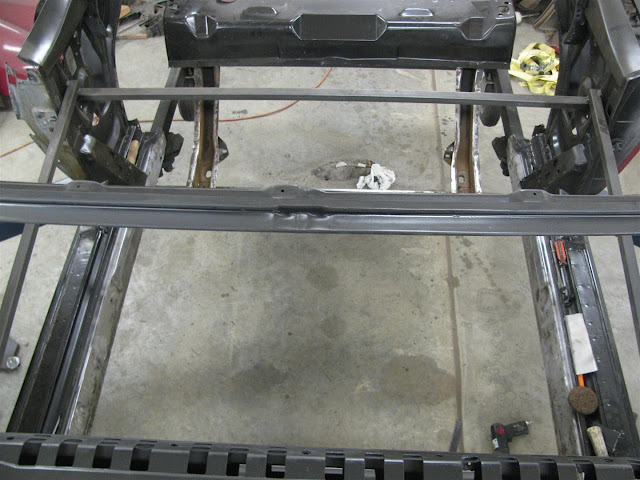
Project: 1967 Firebird convertible
Back around 2000 I searched high and low to find a Firebird convertible. I respect and like all the Camaro's out there, but thought it would be fun to be just a bit different. Being that the car was to be build for fun... the wife and I decided a convertible would be best. I ended up placing an ad on a website looking for a "rust free"as possible car... not caring what drivetrain it had, for I wanted to choose that for myself. Ended up finding a car on the Idaho/Nevada border. (figuring it was at least not in the rust belt where I live... South Dakota) story on this... to follow!
The trip to get the car was a story of it's own...trailering it home through a blizzard.
Flash forward 11 years and I am just now starting my project. Thanks to the bank (loan) I now have a place to build it... and thanks to my family... I have been able to squeeze some time in lately to get it started.
Between me being a bit of a perfectionist... and having a family (2 teenage stepdaughters and a 7-year-old son with high functioning autism)... I expect work on the car to be a bit slow.. but hopefully steady!
I have not gone to school for this, nor have I ever done a complete car before. I will be doing most of the work myself, due to budget and the satisfaction of doing it myself. I was raised on a farm and can thank my dad for teaching me to weld/fabricate... I hope to share the little I can and get advice and tips from all of you that have already been down this road... there are some AWESOME cars on this site that I have been drooling over for months!
Here we go:
Ideas: (as of now.. I seem to change my mind after seeing some of the awesome stuff some of you guys are doing)
Engine: LQ9 408 Stroker. (was going to do a LS3... but wanted something different)
Trans: 4l80e (I know "NOT AN AUTOMATIC" but I have a wife and step-daughters that will want to drive it. Plus, they are damn near indestructible)
Suspension (front): Speedtech full subframe (Bang for the buck... can't beat it... Plus, these guys are AWESOME to deal with! THANKS Roger)
Suspension (rear): Speedtech torque arm (compared all the competitors... easy decision... GREAT PRODUCT!)
A/C: Restomod A/C - Haymaker System (There stuff is AWESOME... quality - look - design)
PLUS.. then some GEEK stuff... on-board computer... etc...
![Image]()
![Image]()
![Image]()
![Image]()
![Image]()
With that being said, I am starting this thread with the hopes of giving a little back to the site that has given me so much! I know I can not thank all the ones before me, but maybe someone else just starting out will be able to use some photo or tip to help them get going on their project.
I know this isn't a Camaro build, but there is so much familiarity between the cars, I feel knowledge can be shared easily between the two! This also isn't a Pontiac Purists build.:noway: The beauty of the car hobby is that we all like cars, but it is our different tastes, styles and opinions that make it interesting and fun!
First off: title/name explanation:
I am a 36 year old IT Manager (Computer guy)... hence the "Geek" title... I have always loved cars and dream of building one that I can enjoy with the family and then passing it on to my kids some day.
Project: 1967 Firebird convertible
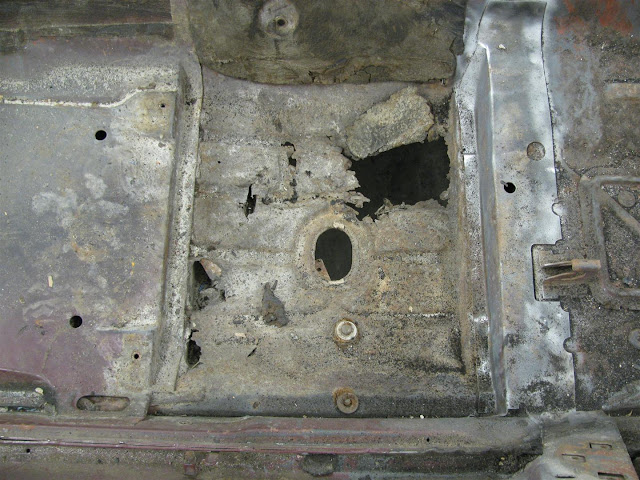
Back around 2000 I searched high and low to find a Firebird convertible. I respect and like all the Camaro's out there, but thought it would be fun to be just a bit different. Being that the car was to be build for fun... the wife and I decided a convertible would be best. I ended up placing an ad on a website looking for a "rust free"as possible car... not caring what drivetrain it had, for I wanted to choose that for myself. Ended up finding a car on the Idaho/Nevada border. (figuring it was at least not in the rust belt where I live... South Dakota) story on this... to follow!
The trip to get the car was a story of it's own...trailering it home through a blizzard.
Flash forward 11 years and I am just now starting my project. Thanks to the bank (loan) I now have a place to build it... and thanks to my family... I have been able to squeeze some time in lately to get it started.
Between me being a bit of a perfectionist... and having a family (2 teenage stepdaughters and a 7-year-old son with high functioning autism)... I expect work on the car to be a bit slow.. but hopefully steady!
I have not gone to school for this, nor have I ever done a complete car before. I will be doing most of the work myself, due to budget and the satisfaction of doing it myself. I was raised on a farm and can thank my dad for teaching me to weld/fabricate... I hope to share the little I can and get advice and tips from all of you that have already been down this road... there are some AWESOME cars on this site that I have been drooling over for months!
Here we go:
Ideas: (as of now.. I seem to change my mind after seeing some of the awesome stuff some of you guys are doing)
Engine: LQ9 408 Stroker. (was going to do a LS3... but wanted something different)
Trans: 4l80e (I know "NOT AN AUTOMATIC" but I have a wife and step-daughters that will want to drive it. Plus, they are damn near indestructible)
Suspension (front): Speedtech full subframe (Bang for the buck... can't beat it... Plus, these guys are AWESOME to deal with! THANKS Roger)
Suspension (rear): Speedtech torque arm (compared all the competitors... easy decision... GREAT PRODUCT!)
A/C: Restomod A/C - Haymaker System (There stuff is AWESOME... quality - look - design)
PLUS.. then some GEEK stuff... on-board computer... etc...