

So here's the project I have been working for about a year , going to try to post what I have to date in chronological order.
Car is(was) a basket case 67 , six cyl manual of some sort car. I picked it up over ten years ago and pretty much used it to store stuff in , finally got the bug from reading the forums here and the 48 hour Camaro build ridetech did a while back.(I did do some stripping of junk over the years, had a one piece fiberglass front end, 350sbc/t10,dana open diff???)
So far the plans are to have an 6.0/ls3 heads/intake , 4l80 , full ridetech setup.
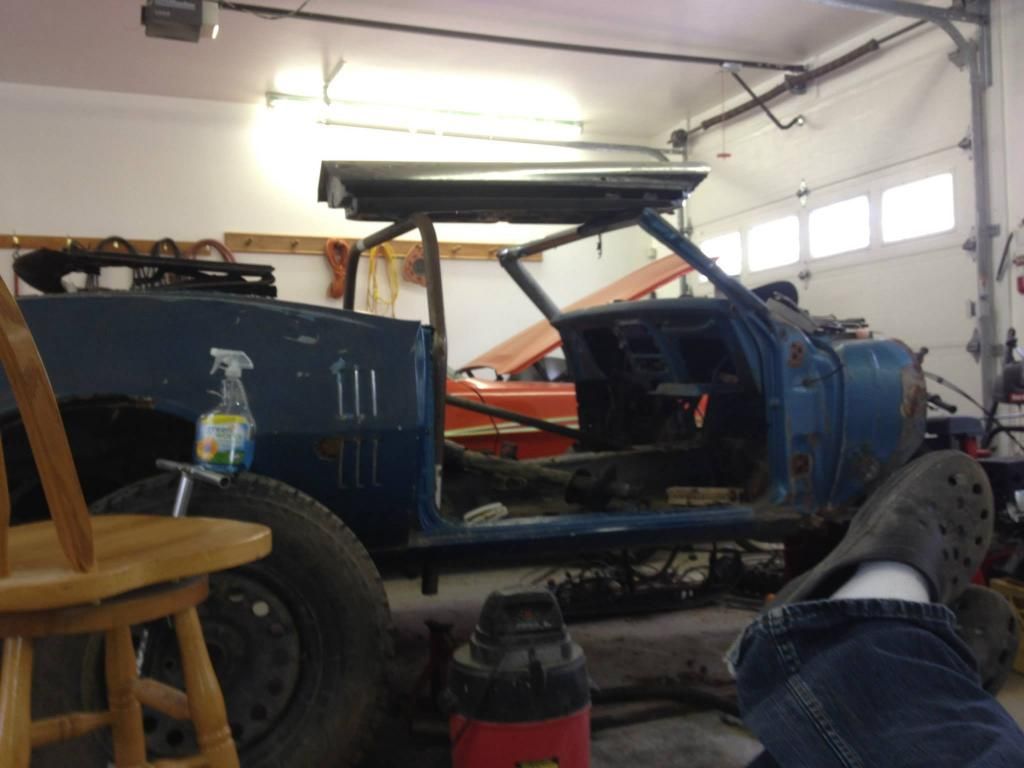
Here is how the first 10 years went , me sitting back with a beer planning it out
Build something better than an old boat trailer with a dana rearend to move it around
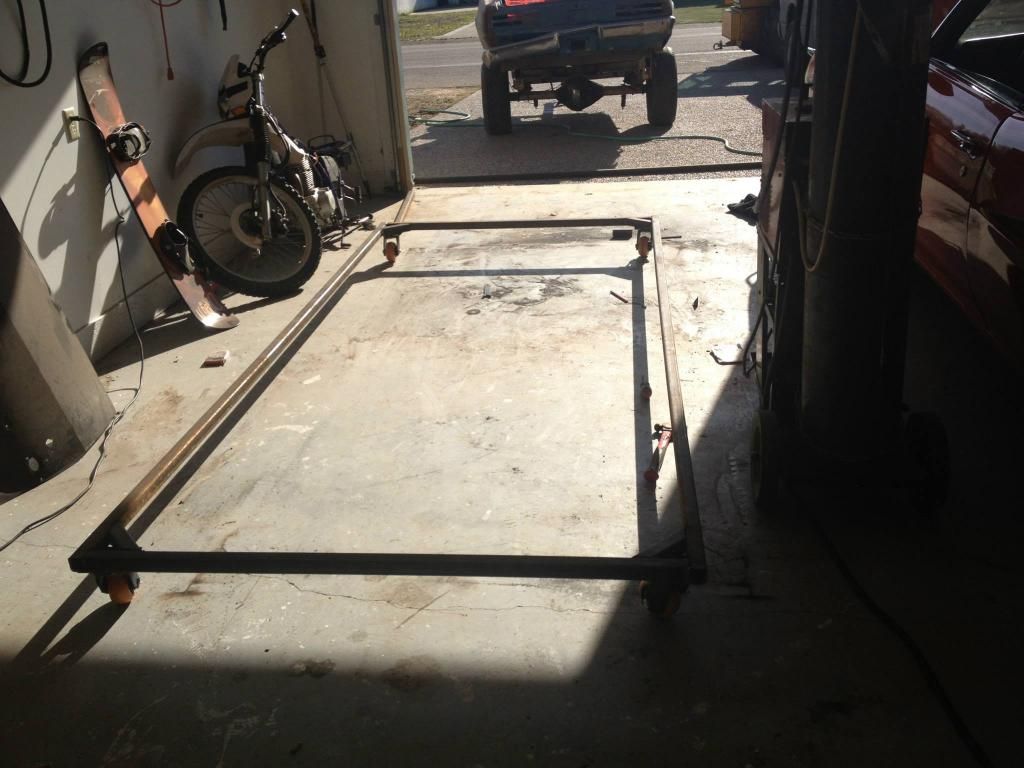
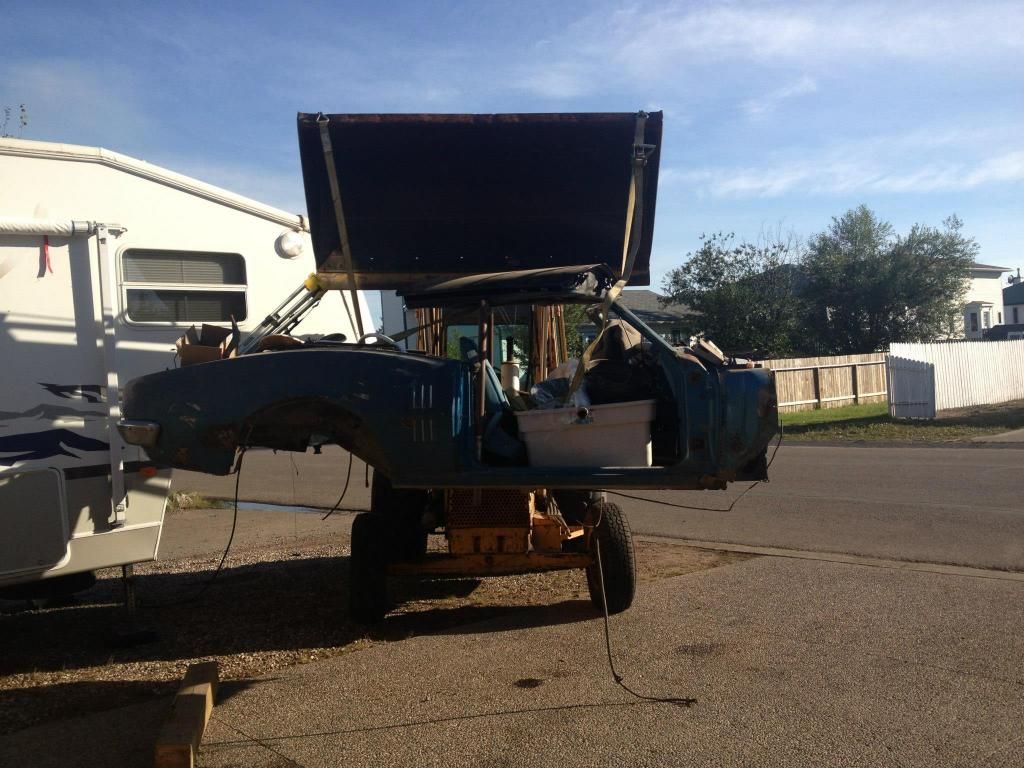
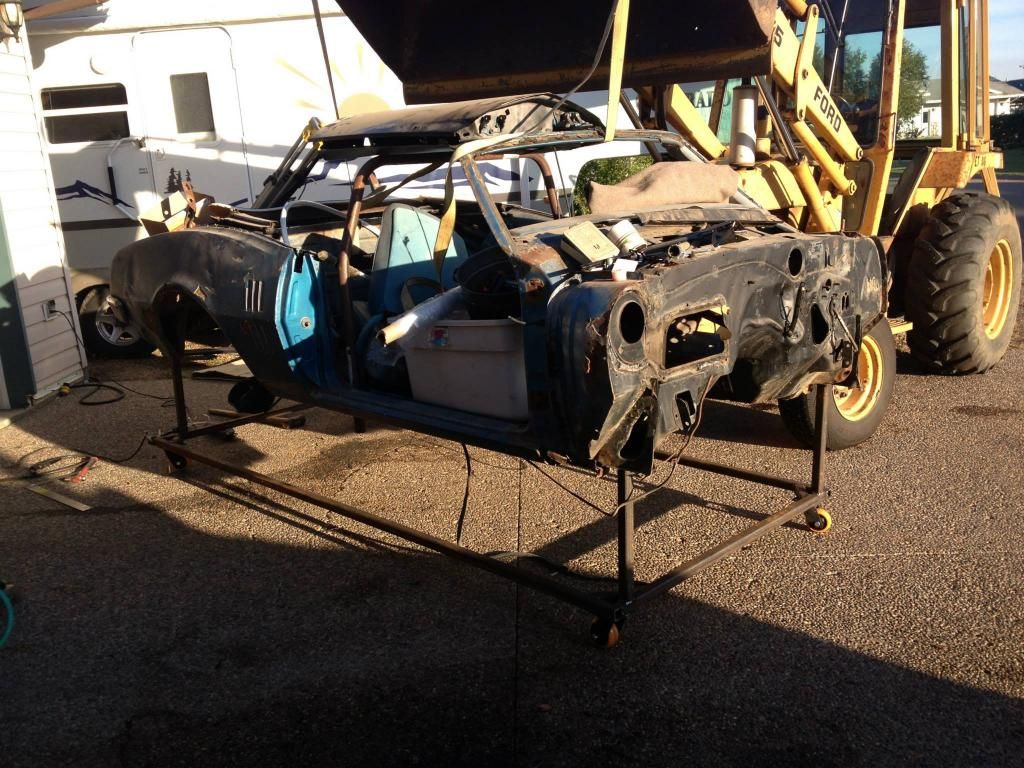
Get it mounted , just measured equal tubing and welded right to the torque boxes, rear of the frame rails and the front of the framerails
At this point another set of casters in the middle is needed.
Car is(was) a basket case 67 , six cyl manual of some sort car. I picked it up over ten years ago and pretty much used it to store stuff in , finally got the bug from reading the forums here and the 48 hour Camaro build ridetech did a while back.(I did do some stripping of junk over the years, had a one piece fiberglass front end, 350sbc/t10,dana open diff???)
So far the plans are to have an 6.0/ls3 heads/intake , 4l80 , full ridetech setup.
Here is how the first 10 years went , me sitting back with a beer planning it out

Build something better than an old boat trailer with a dana rearend to move it around

Get it mounted , just measured equal tubing and welded right to the torque boxes, rear of the frame rails and the front of the framerails


At this point another set of casters in the middle is needed.


