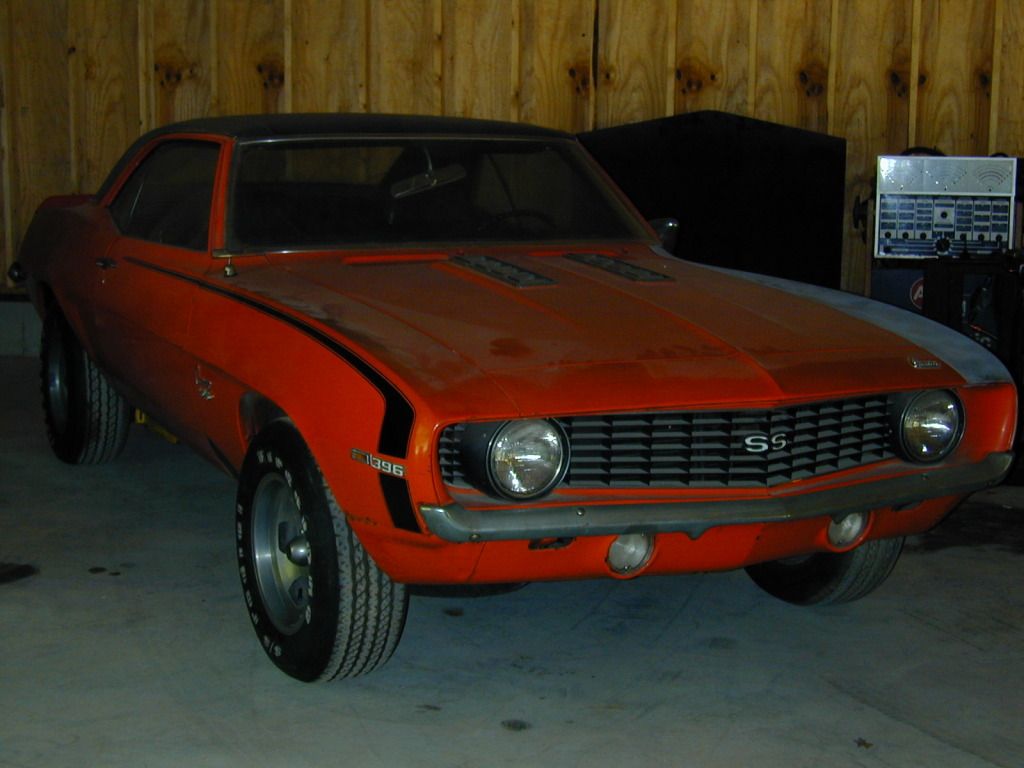
re: 69 SS396 X66 L34
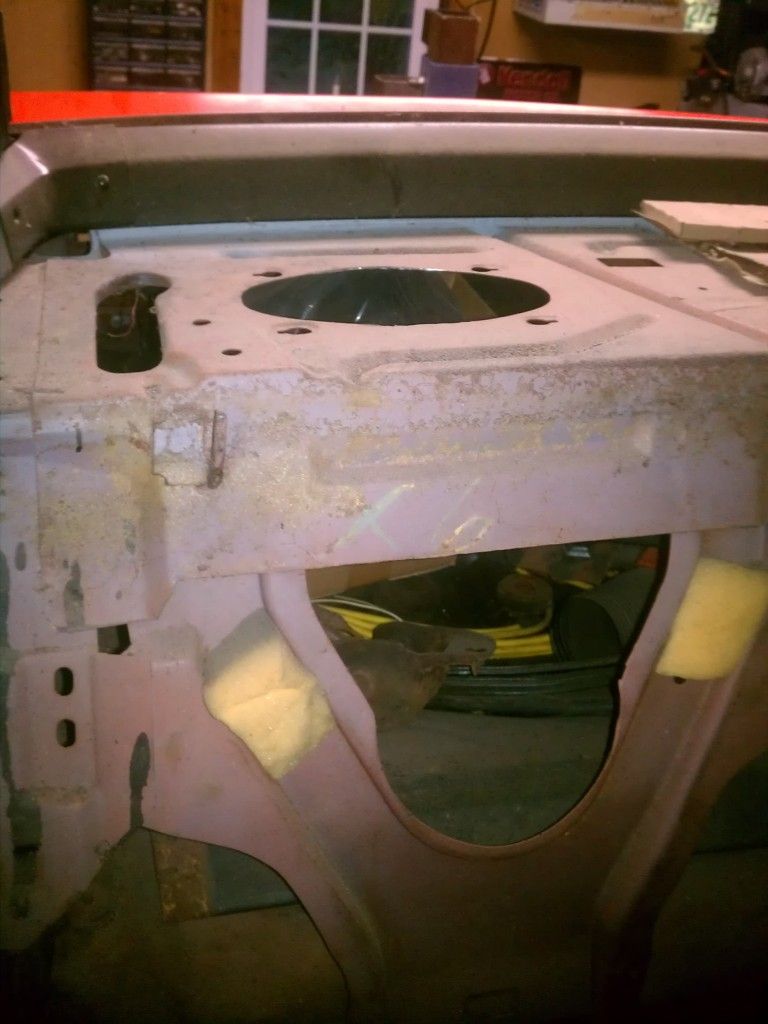
One of the things I was procrastinating finishing was the lower windshield trim mounting. The lower part of my dash that's welded to the cowl has been repaired. The repair removed the piece of metal that had the holes for the lower trim mounts. After I figured out where they needed to go and drilled the new holes, I noticed there were cut outs on the cowl where each of them mount to. You would need a mirror or use a cell phone camera like I did to see under inside the upper cowl.
Once the trim has been attached, the cowl cover actual clips into the trim mounts for a nice flush clean looking fit.
Here's a few pics from today:
Prior to the repair:
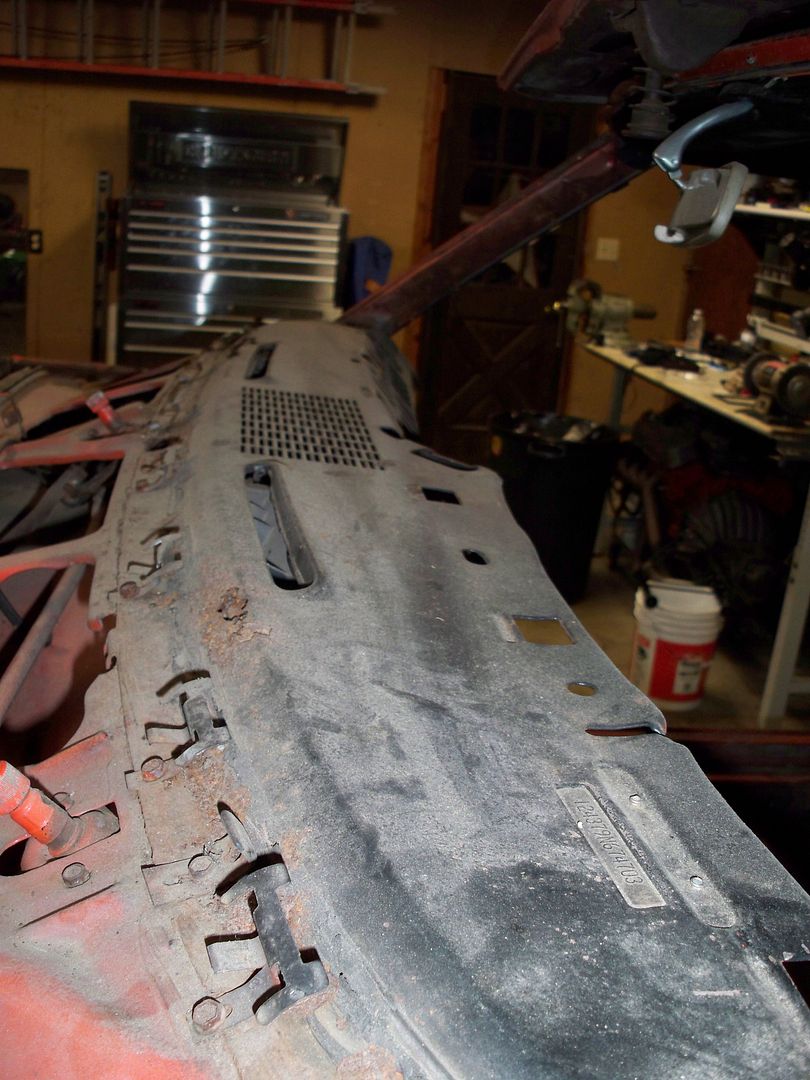
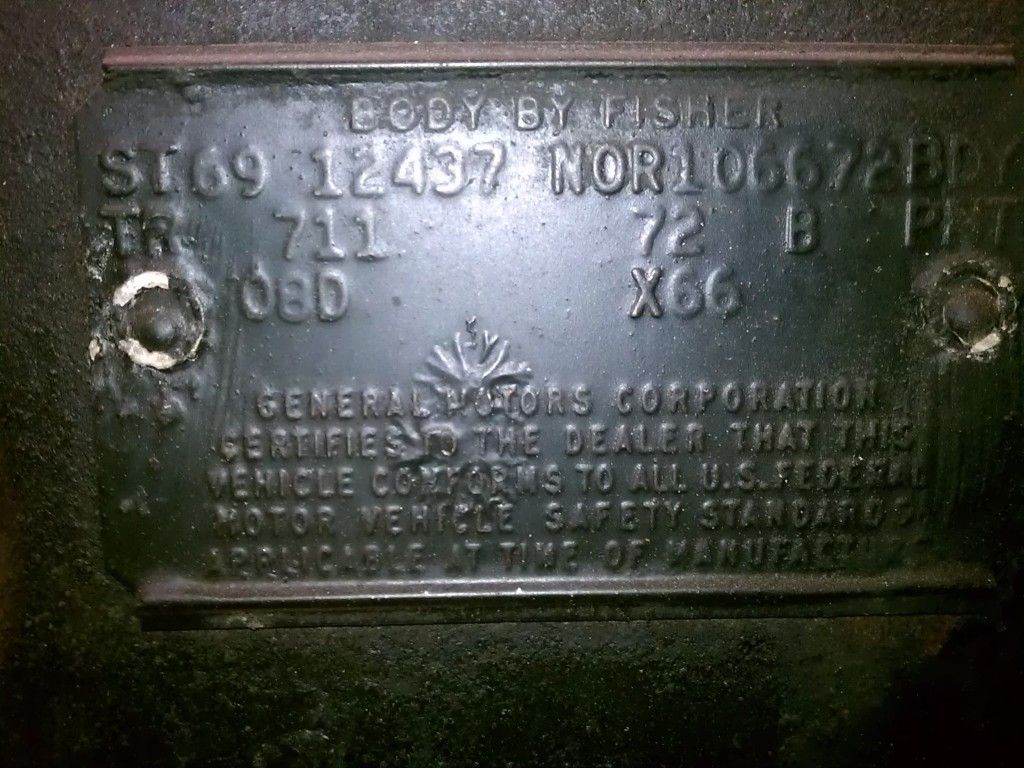
Where I started after fixing the lower part of the dash. No, I didn't touch the VIN tag...
If you look next to the small weld spot, you can see an oval cut out with the screw drilled through it. There is an oval cut out for each trim mount. The two windshield adjusters do not have the cut outs in their locations.

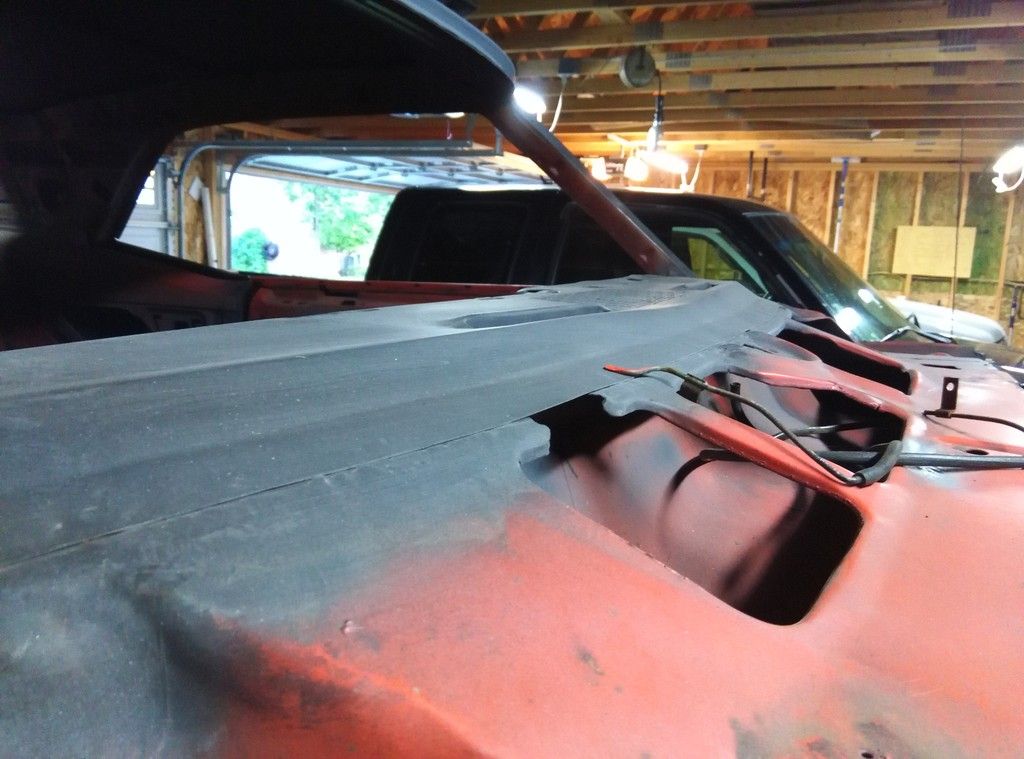
Here's where I finished up. I temporarily set the windshield in place to make sure everything lined up well.

Last thing. I posted this before in another thread, but for anyone reading this it might help. Here are the replacement clips you need for the window trim. I've confirmed that the ones fit well for the vinyl top. I don't think the height is any different from the coupe clips.
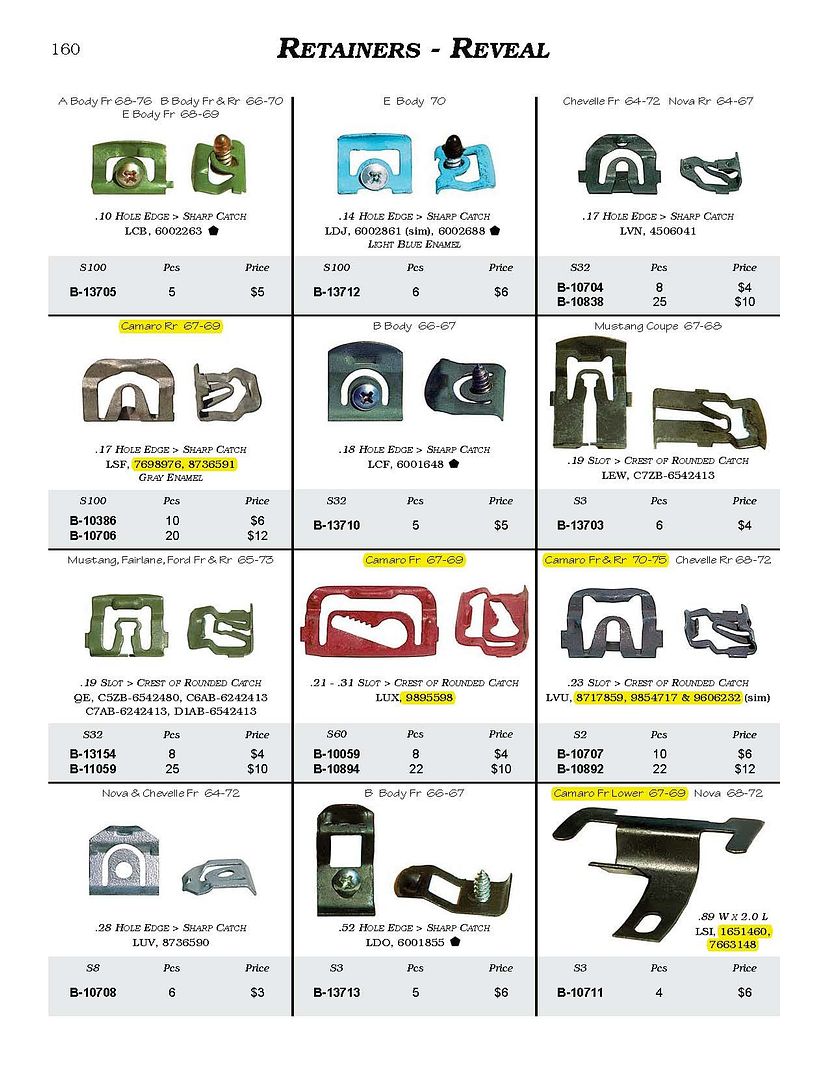
After looking around for info on replacement clips for the front windshield molding, I saw one post where someone mentioned they thought there was a difference between a painted roof coupe and a vinyl top roof coupe. I knew mine were different and didn't appear to have ever been removed. Original vinyl top and original date coded glass along with good condition trim... Anyone know the reason for the difference? It seems like the regular clips could cover the added thickness of the vinyl.
I'm posting this so someone can find the information a lot easier. If someone sees something off in my information here, let me know. There is a misprint or omission in the AMK catalog page 160, but it's listed correctly on page 338 under p/n: G-6552. The clips listed for Camaro Fr & Rr 70-75 are also for vinyl top 69s (possibly other years as well). I confirmed w/ AMK that their p/n G-6552 and B-10707 are the same.
Painted roof front windshield side and top clips. GM p/n: 9895598 & AMK #s B-10059 (8 pcs), B-10894 (22 pcs) & G-4639
Vinyl Top front windshield side and top clips. GM p/n: 8717859, 9854717 or 9606232 & AMK #s B-10707 (10 pcs), B-10892 (22 pcs) & G-6552
Rear Window. GM p/n: 7698976 or 8736591. AMK #s B-10386 (10 pcs), B10706 (20 pcs) or G-6539
Front Lower. GM p/n: 1651460 or 7663148. AMK #s B-10711 (4 pcs) or G-4665