Since joining Camaros.net I have learned many things, seen many incredible resto stories, and met some great people. Love the site!:hurray:
When I first bought my '69 Coupe back in Aug. 1996, I never thought I arrive at this point. I began dismantling it the day I drove it home. It only took me 3 days to get down to the shell, but I loved every minute of it. After that, due to my busy job-schedule, it sat, and sat, and sat...UNTIL THIS YEAR:sad:!!!
Like some other incredibly talented and brave Team members, I would like to document my resto all in one thread as well. Until now, I have only ever posted individual stages or questions along the way--so for those of you who already have seen some of this info/pics--I apologize if I am boring you. Now, I'm starting the single thread docomenting it all. Start to finish! Ask away, enjoy, learn with me, and push me to the end of this long and winding road ahead. I have a great start already thanks to Team Camaro--thank you! *SO BE SURE TO SUBSCRIBE TO THIS THREAD SO YOU CAN GET UPDATES AND INFO AS I SHARE IT ALL ON HERE. Without further adieu...
Since my Camaro is originally from Connecticut, it has endured some harsh weather, salt, and worst of all, a vinyl top. However, I do intend to keep it original since it will always ever be stored indoors from now on.
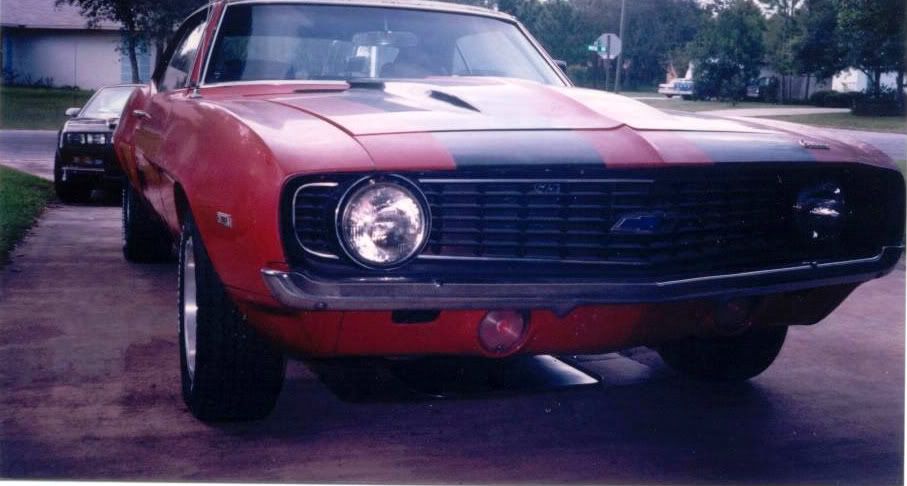
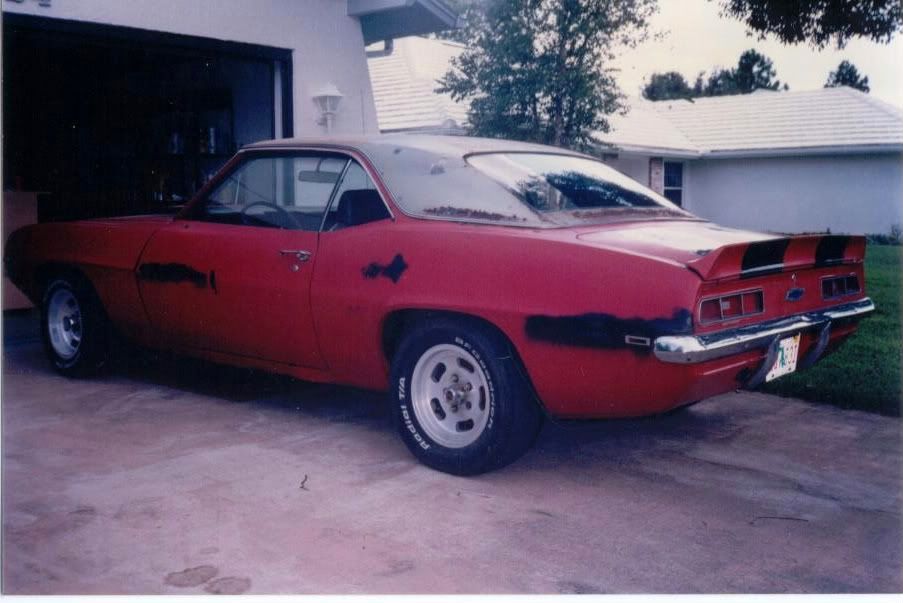
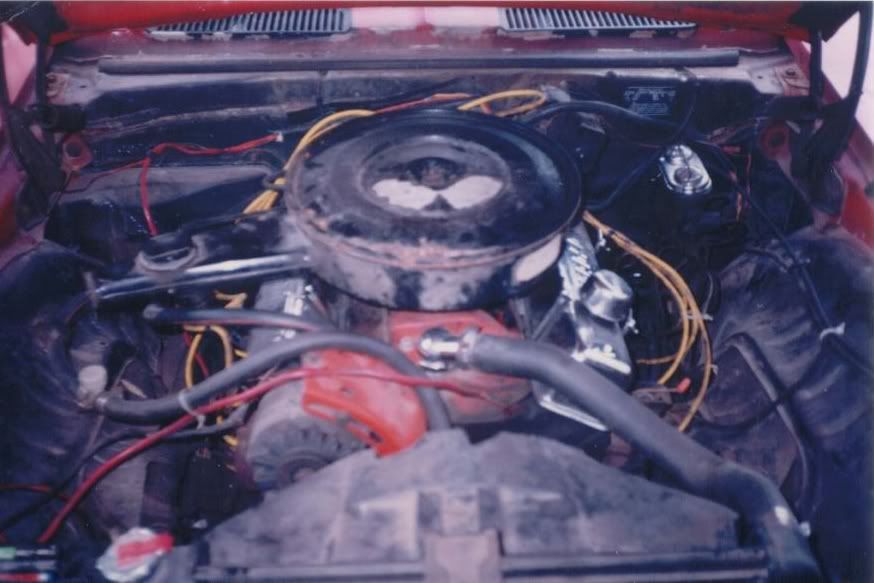
Here are some original photos of when I first got it in Aug. '96. It was running and driving (smoking too!) and was a nice from far, but far from nice --car:
*See my 1992 Z28 350 in the background?
![Image]()
![Image]()
![Image]()
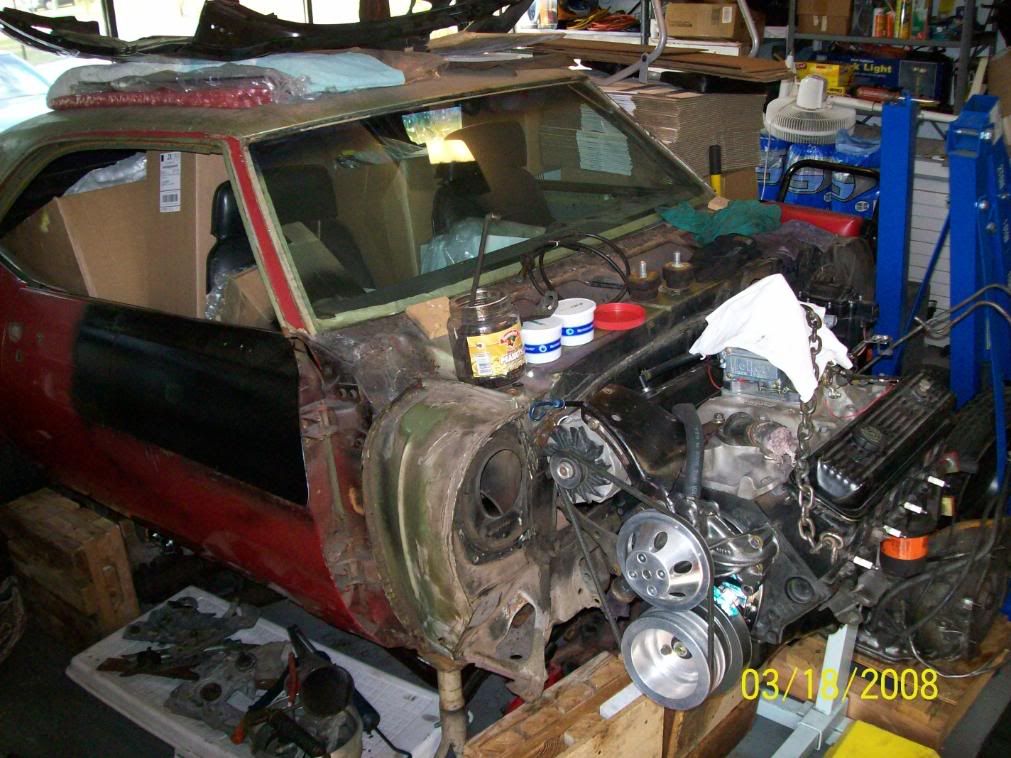
*Here is it after accumulating some parts, and um....many other "things". LOL!!!
![Image]()
*and many of you will remember this one....LOL!
![Image]()
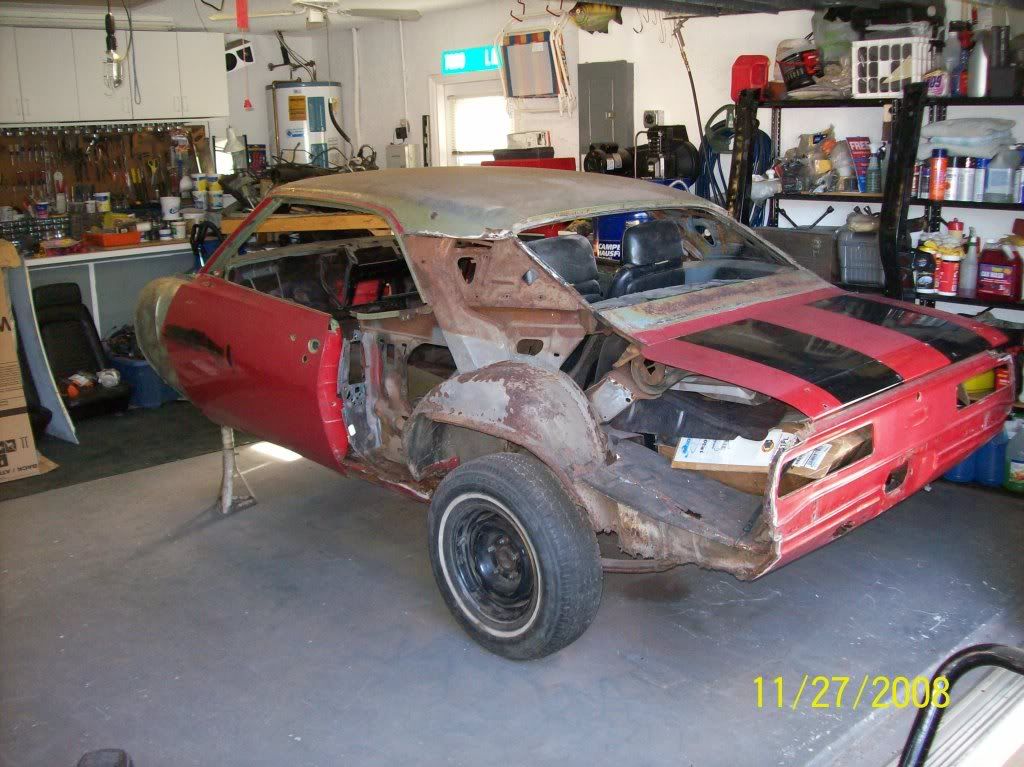
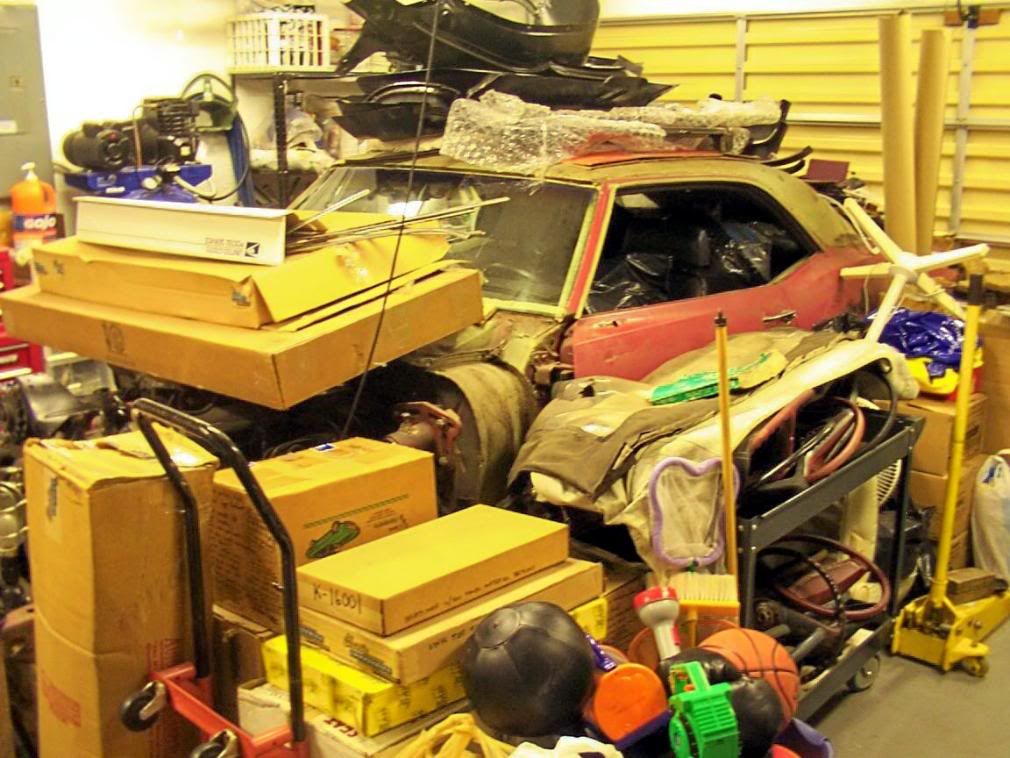
*and finally, here it sits--waiting for my attention... as of this evening 11-26-2008. (it took me all day to dig it out--LOL!)
![Image]()
![Image]()
When I first bought my '69 Coupe back in Aug. 1996, I never thought I arrive at this point. I began dismantling it the day I drove it home. It only took me 3 days to get down to the shell, but I loved every minute of it. After that, due to my busy job-schedule, it sat, and sat, and sat...UNTIL THIS YEAR:sad:!!!
Like some other incredibly talented and brave Team members, I would like to document my resto all in one thread as well. Until now, I have only ever posted individual stages or questions along the way--so for those of you who already have seen some of this info/pics--I apologize if I am boring you. Now, I'm starting the single thread docomenting it all. Start to finish! Ask away, enjoy, learn with me, and push me to the end of this long and winding road ahead. I have a great start already thanks to Team Camaro--thank you!
*SO BE SURE TO SUBSCRIBE TO THIS THREAD SO YOU CAN GET UPDATES AND INFO AS I SHARE IT ALL ON HERE. Without further adieu... Since my Camaro is originally from Connecticut, it has endured some harsh weather, salt, and worst of all, a vinyl top. However, I do intend to keep it original since it will always ever be stored indoors from now on.
Here are some original photos of when I first got it in Aug. '96. It was running and driving (smoking too!) and was a nice from far, but far from nice --car:
*See my 1992 Z28 350 in the background?
*Here is it after accumulating some parts, and um....many other "things". LOL!!!
*and many of you will remember this one....LOL!
*and finally, here it sits--waiting for my attention... as of this evening 11-26-2008. (it took me all day to dig it out--LOL!)